The Ultimate DIY Guide: Creating Your Own E-liquids with Ease
Introduction: What is DIY E-liquid?
DIY e-liquid, or “Do It Yourself” e-liquid, is the practice of creating your own vape juice at home using a few basic ingredients. This approach not only allows you to customize your flavors and nicotine levels but also to save money in the long run. With the new regulations in Quebec regarding the sale of e-liquids, many vapers have turned to DIY. Now, with Taste It offering high-quality flavors and bases, it’s easier than ever to get started.
The Essential Ingredients for DIY E-liquid
Before you begin, you’ll need to gather some basic ingredients. Here’s what you need:
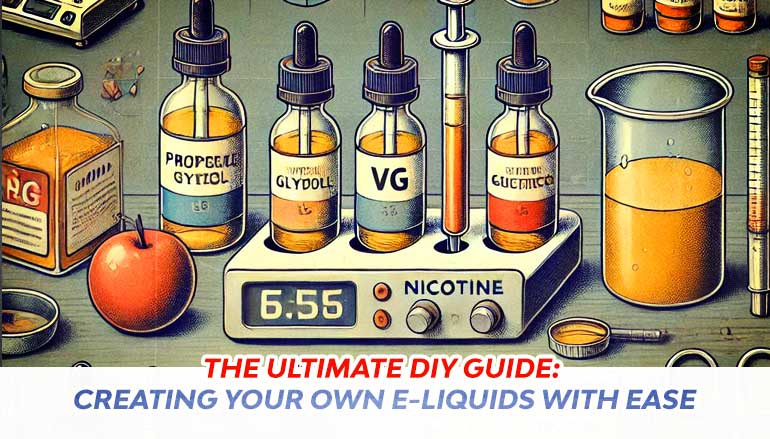
- Propylene Glycol (PG): This is a thin, odorless liquid that carries flavors well and provides a stronger throat hit.
- Vegetable Glycerin (VG): This thicker liquid produces larger vapor clouds and adds a bit of sweetness.
- Nicotine: Available in various strengths, it should be handled with care.
- Flavors: These are concentrated liquids that give your e-liquid its unique taste.
- Base or Diluent: A mix of PG and VG, or just one of them, depending on your preferences.
Essential Equipment for DIY E-liquid
Having the right equipment is key to making your own e-liquids. Here’s what you’ll need:
- Syringes: For precise measurement of each ingredient.
- Empty Bottles: For mixing and storing your e-liquid.
- Gloves: To protect your skin, especially when handling nicotine.
- Scale: A digital scale for accurate measurement by weight.
- Labels and Markers: To identify your creations.
Basic Steps to Create Your E-liquid
- Determine Your Recipe: Decide on the nicotine strength, VG/PG ratio, and the flavors you want to use. You can find a plethora of recipes online to help get you started.
- Measure the Ingredients: Using your syringes or scale, carefully measure out each ingredient according to your recipe.
- Mix the Ingredients: Add the nicotine, flavors, PG, and VG to your empty bottle. Shake well to mix everything thoroughly.
- Steep the E-liquid: Let your e-liquid sit in a cool, dark place for a few days to a few weeks, depending on the recipe. This process, called steeping, helps the flavors blend together.
Safety Tips for DIY E-liquid
- Handle Nicotine with Care: It is a toxic substance that should never come into contact with your skin. Wear gloves and use a well-ventilated area.
- Label Your Bottles: Always label your creations with the date, nicotine strength, and flavor profile.
- Store Safely: Keep your ingredients and finished e-liquids out of reach of children and pets.
Why Choose DIY E-liquid?
Making your own e-liquid allows you to tailor your vaping experience to your personal preferences. You can experiment with different flavor combinations, adjust the nicotine strength, and even control the VG/PG ratio for the perfect throat hit and vapor production. Plus, with Taste It’s selection of high-quality ingredients now available in Quebec, you have everything you need to create the perfect e-liquid.
DIY e-liquid making is a fun and rewarding process that gives you full control over what you vape. With the right ingredients and equipment, and a little bit of practice, you’ll be mixing like a pro in no time. Ready to get started? Check out the selection of flavors and bases available on Taste It and start crafting your perfect e-liquid today!


Leave a Reply